


Congratulations! You've started your developer-blog journey and you've decided to write on Hashnode! That's fantastic! 🥳
To take your blogging to the next step, consider linking your blog to your own custom domain.
Not sure how to do that? 🤔 No worries! In this short article, I'll show you how to configure your DNS provider to point to your own custom domain!
I'll be using Google Domains for this article, but the concepts can be transferred to any DNS provider!
Let's get started! 🙌
Step 1 - Configure on Hashnode
I have a custom domain that I bought from Google Domains. If you don't already have a custom domain, feel free to pick one up.
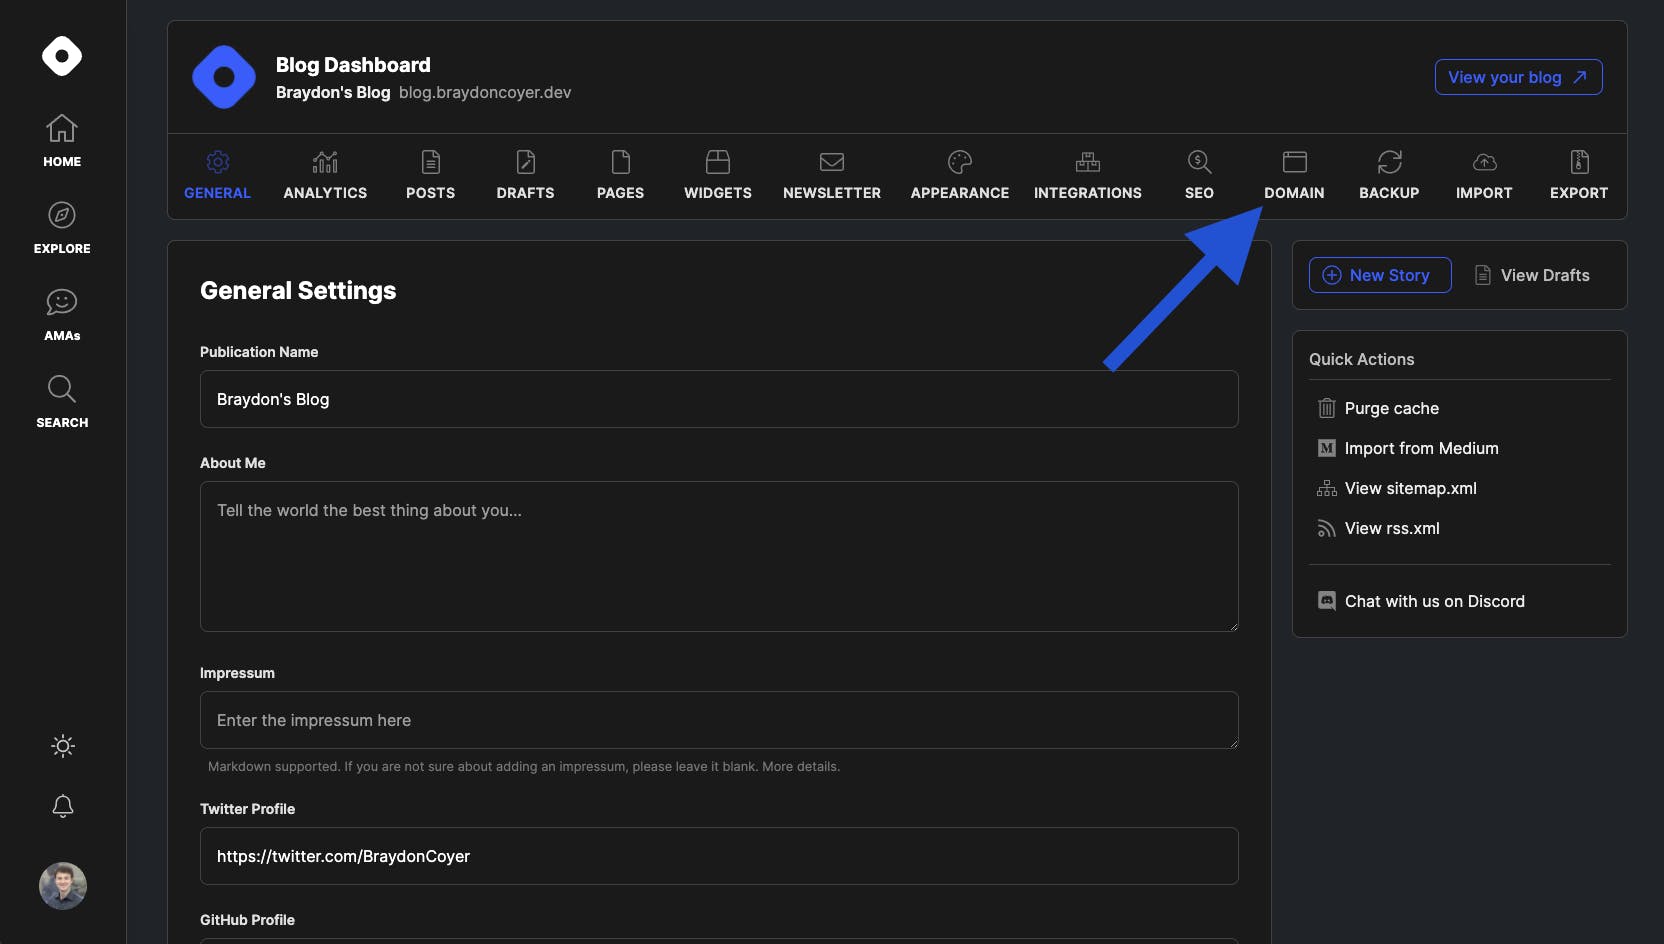
After you've purchased a domain, head to your Hashnode blog dashboard. Once there, click on the Domain tab.
From here, add the destination (URL) of your blog on your domain. What does that mean? You could have your blog located at the root of your domain (ex yourdomain.com), but I recommend having your blog located as a subdomain like I have done below (ex blog.yourdomain.com).
In the 'Enter your domain name' field, type blog.yourdomain.com. My domain is braydoncoyer.dev, so I've put blog.braydoncoyer.dev.
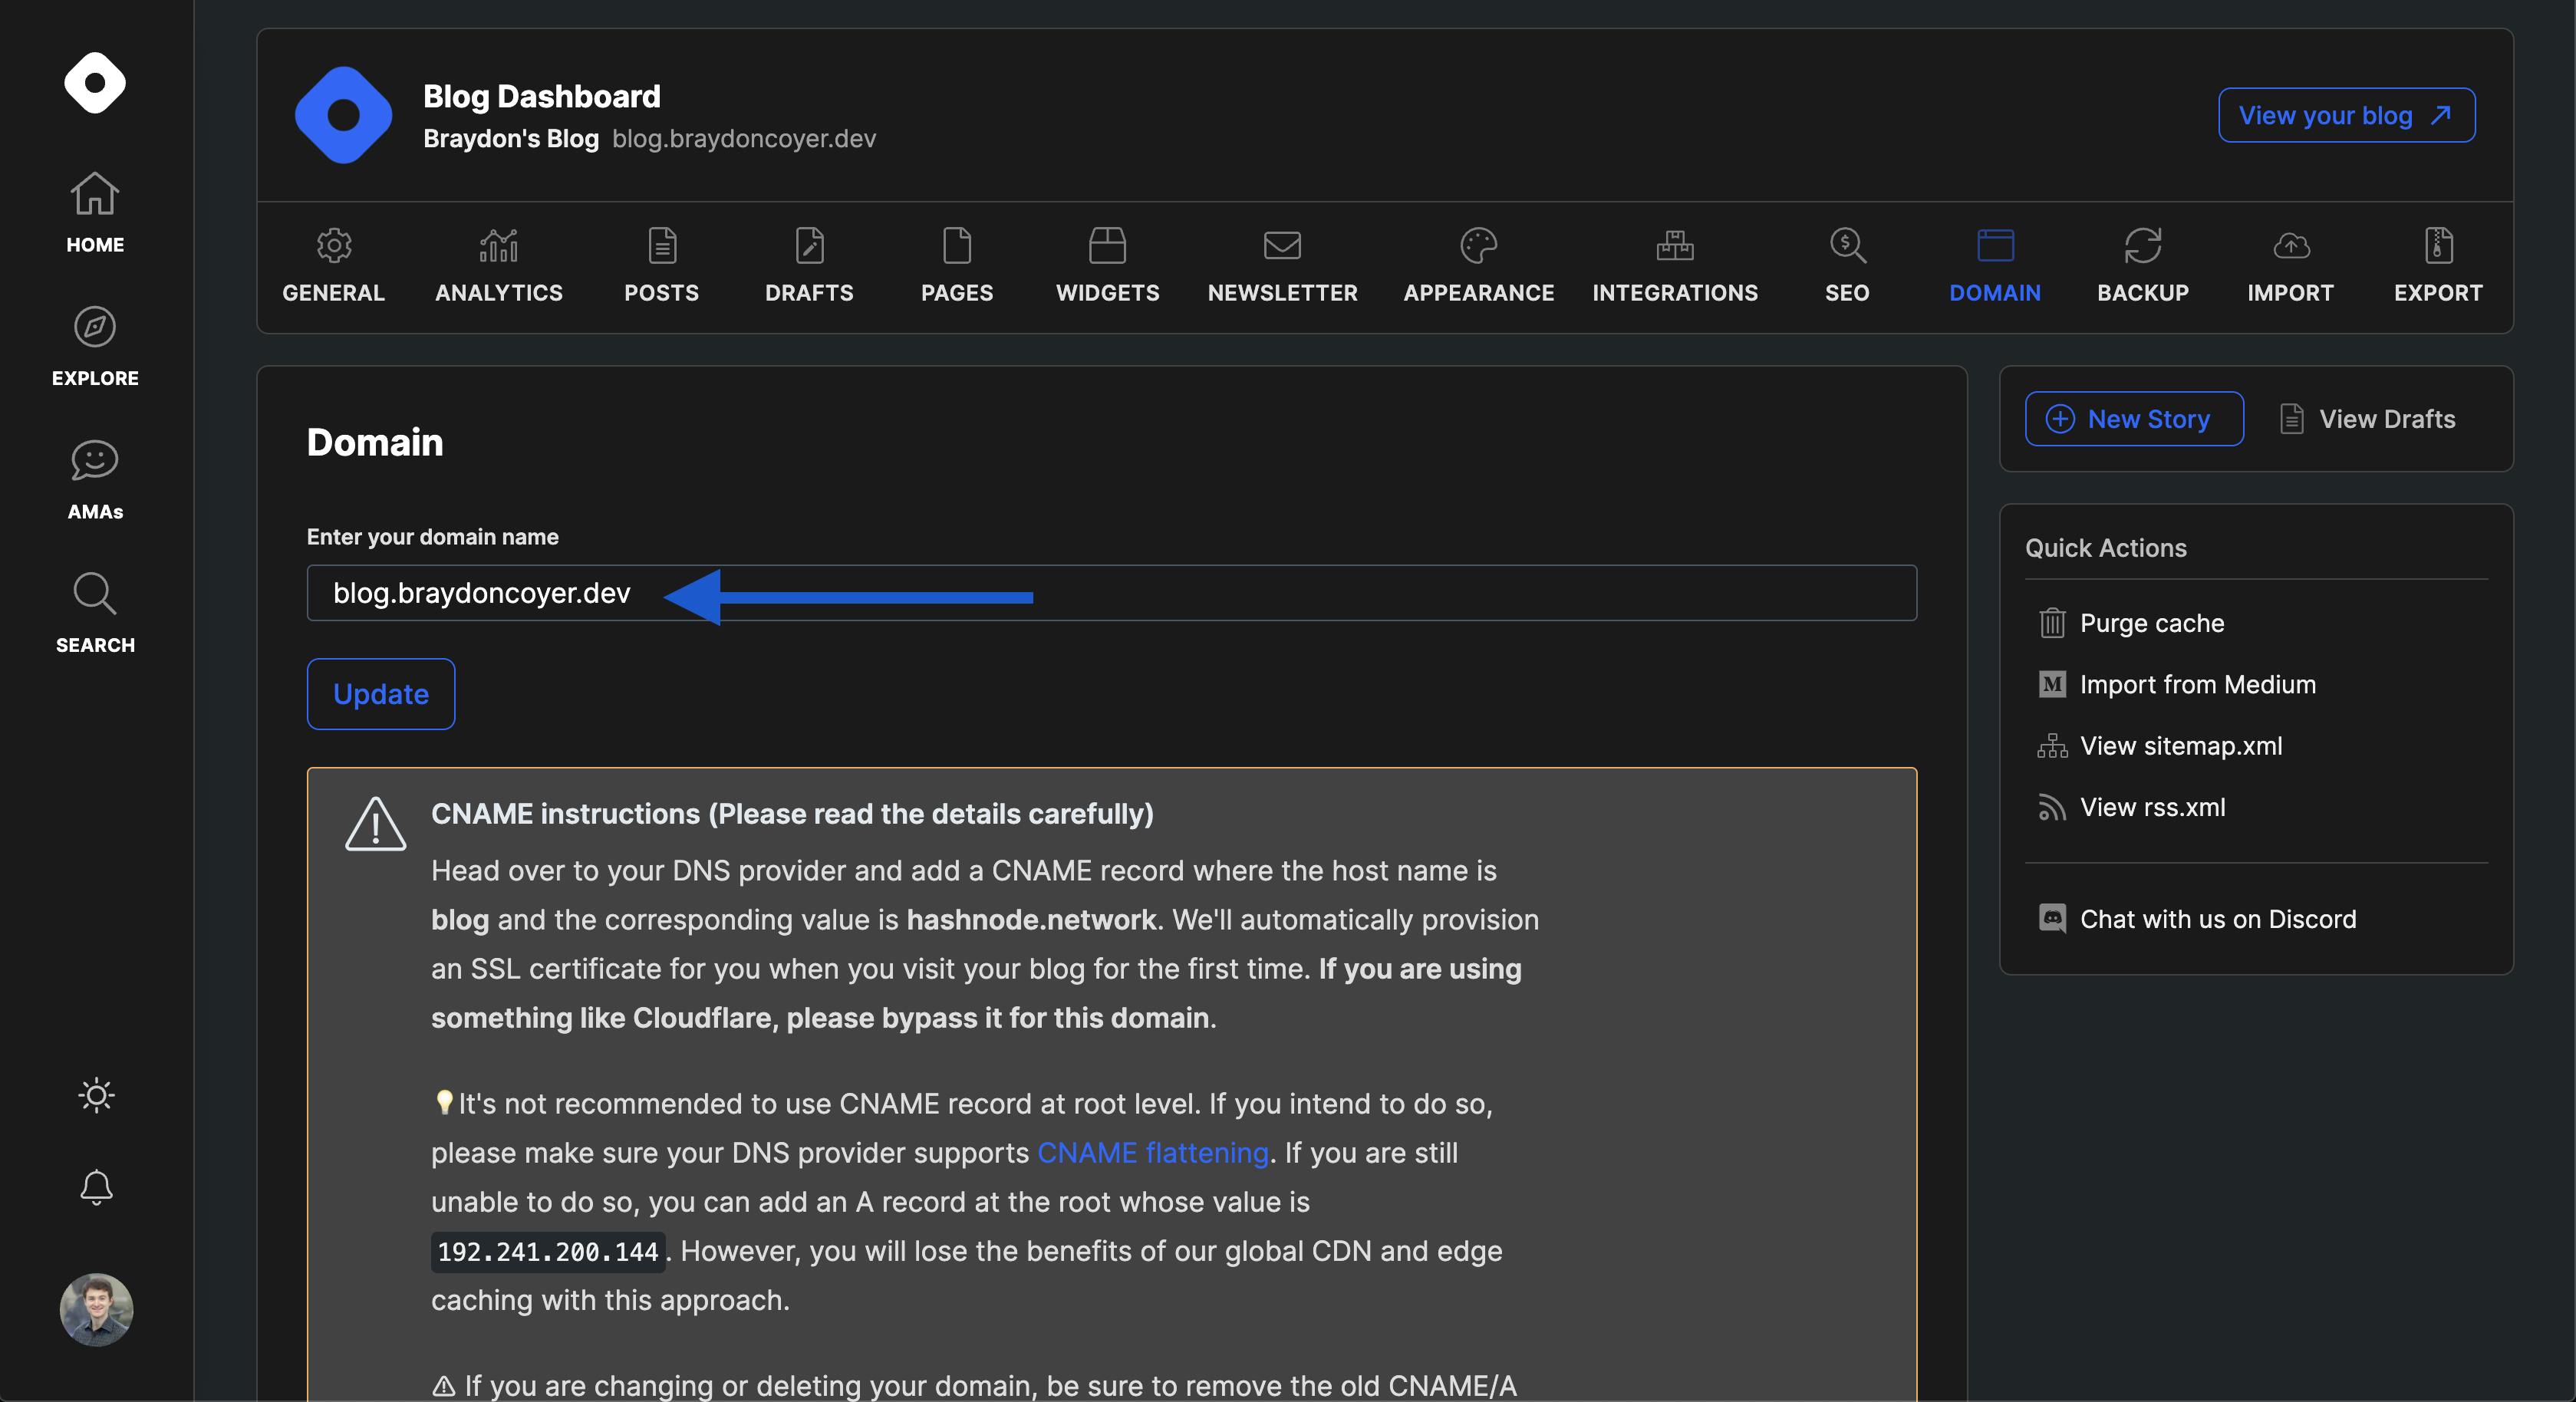
When you add your domain, Hashnode gives you some CNAME instructions. Glance over the instructions, and then continue to the next part of the article.
Step 2 - Configure Your DNS Provider
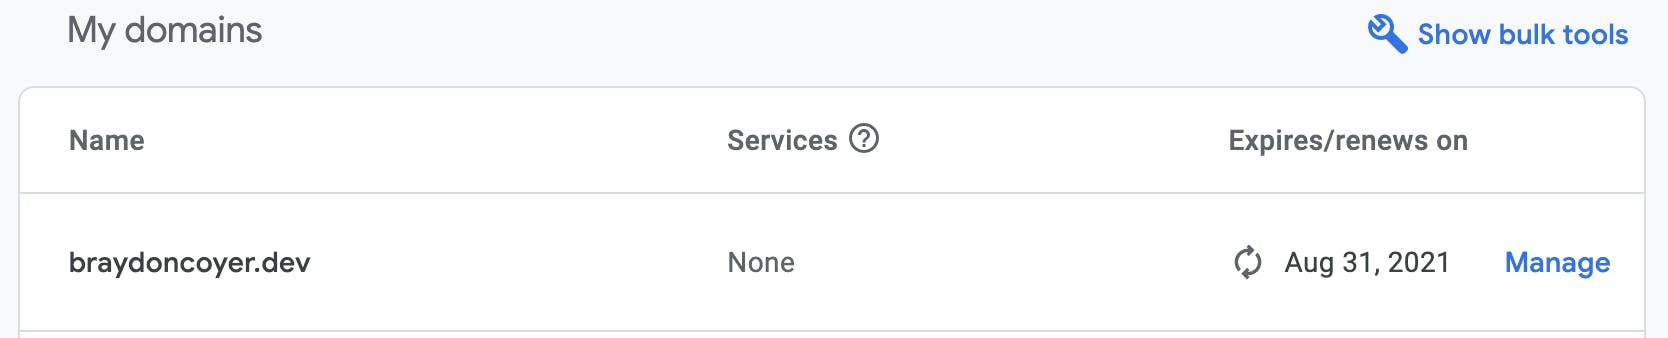
Now that we've added the domain on Hashnode, head to domains.google.com and log in. You should see your domain listed.
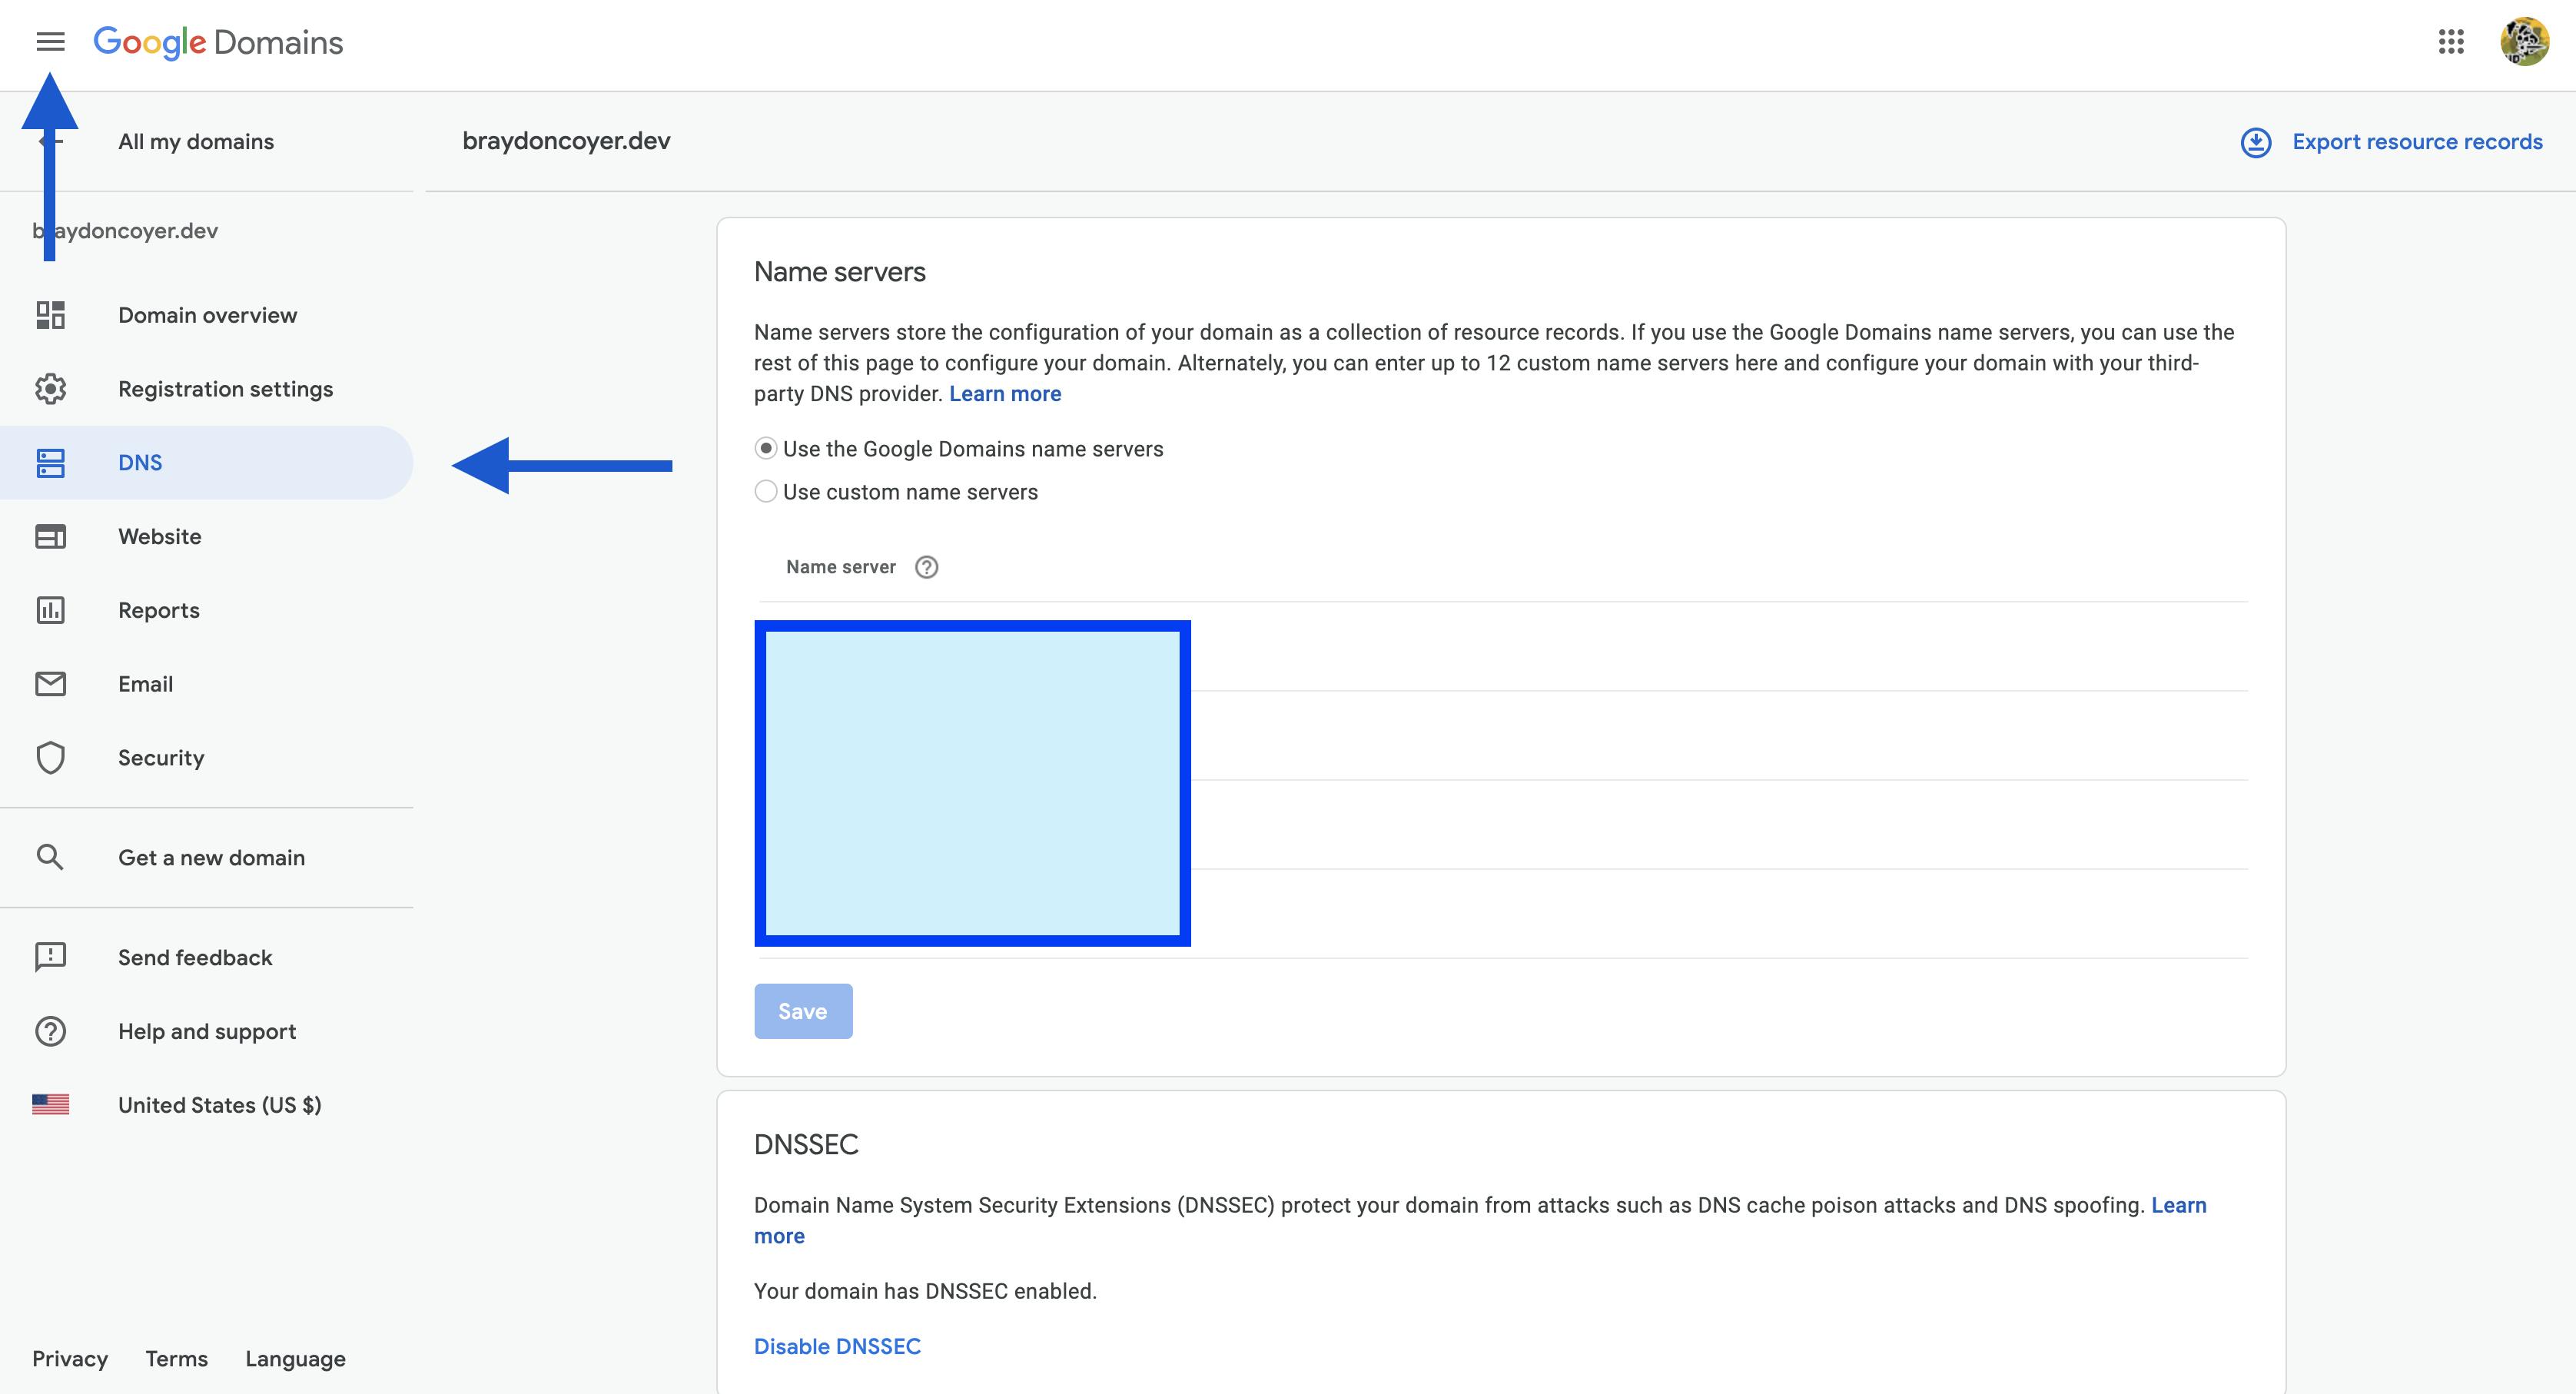
Click on your domain and then on the left sidebar, click on DNS.
NOTE: If you don't see the sidebar on the left, click on the hamburger icon in the top left to open the sidebar.
On the DNS page, scroll down until you see the Custom Resource Records section. It should be at the bottom of the page.
Fill out the following fields:
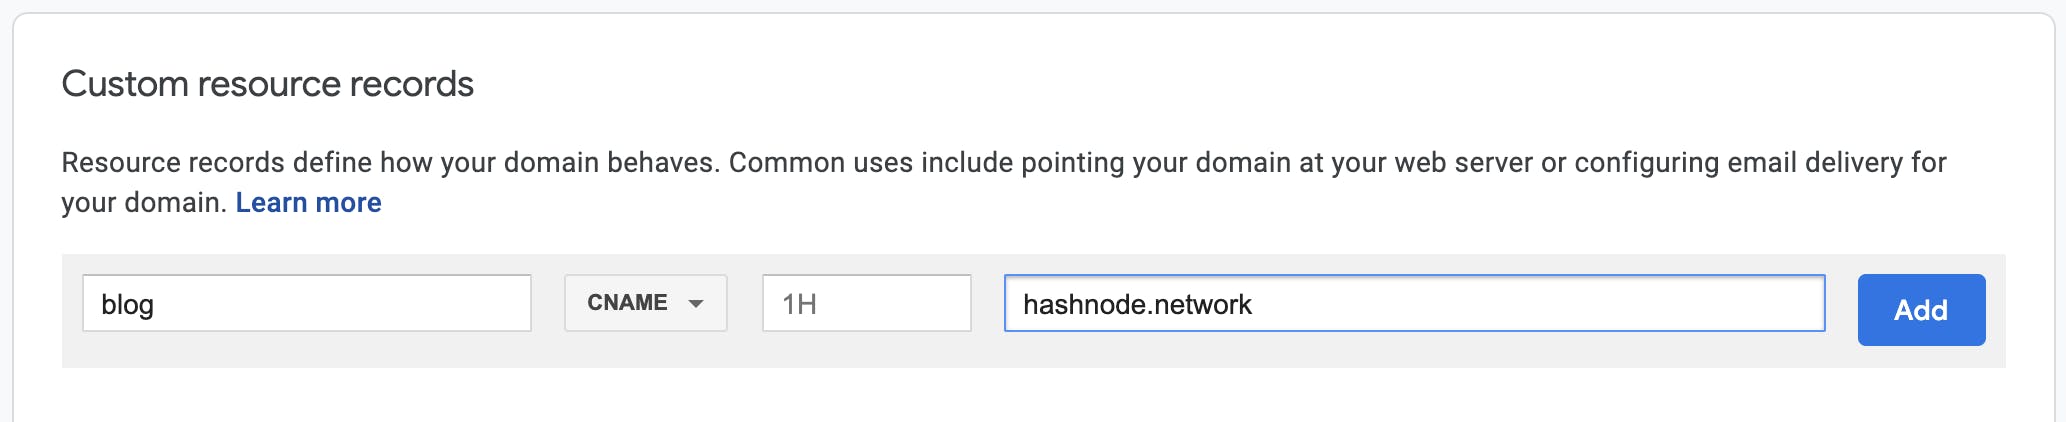
This creates a CNAME record with the subdomain as 'blog' (which reflects the blog destination in your Hashnode profile) and value of 'hashnode.network' which hooks into Hashnode's system.
Now all you have to do is click on the 'Add' button. Hashnode will automatically supply an SSL certificate for your blog, which is very handy!
It may take several minutes (even a few hours), but you should now be able to access your blog on your domain!
Conclusion
Congratulations! Not only have you started blogging, but now your blog is linked to your own domain! And because of Hashnode's versatile system, it only took a few minutes!
Thanks for reading! If you liked this article and want more content like this, read some of my other articles , subscribe to my newsletter and make sure to follow me on Twitter!